Quick Overview of This Article
A planer for wood is among the most accurate carpentry tools made to mill rough lumber. Often, wood planes are used to smoothen pieces of wood into either narrow edges or smooth edges. However, a wood planer is used to cut wood pieces into the thickness and shape you desire.
To use these woodworking tools requires a more profound knowledge of the power planer basics and enough experience. Woodwork ensures that experience comes with constant practice hence can significantly help you achieve the desired thickness for your wood. Therefore, a planer performs magic if you want to gain a smooth edge or a straight edge for your piece of wood.
This brief but detailed article seeks to inform you of the innumerable benefits that come with using a planer on your wood. It shall also provide an insight on how to use a wood planer, both manual and electric wood planers.
How to use a benchtop planer?
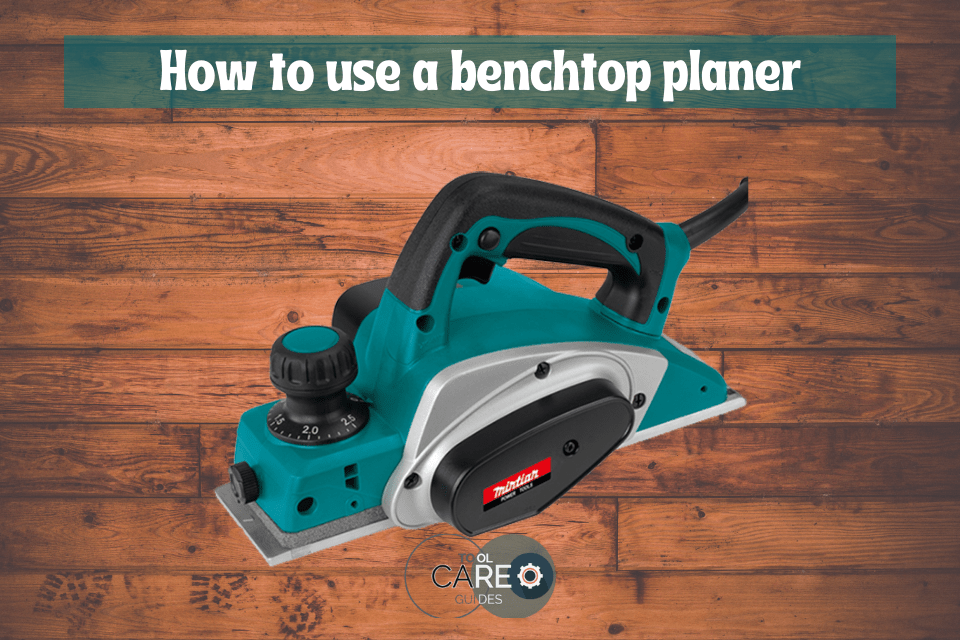
A benchtop wood planer is a perfect example of an advanced version of wood planers. A manual wood planer is often the first tool most used before advancing to other more sophisticated carpentry tools. This tool can help you reduce common planning problems like snipes, ridges, and tear-outs with its adaptations. However, it is designed to make planning easy and fast.
There are many other functions attached to a benchtop planner that make it an effective indispensable tool. A benchtop planer cleans the rough sawn lumbers; it creates customized thickness for boards, ensuring the right benchtop thickness. However, it can also make use of old wood thereof reducing wastage. But, first, let us look at the materials you need before using a benchtop wood planer.
Materials needed to be effectively used are a benchtop wood planer.
Before using a wood planer, you need to know the materials needed before setting off. Therefore, planning earlier works for your benefit since you will not be frustrated when you have already started. Below is the equipment that you need to get you immediately started.
- Pair of pliers
- Dust-mask to protect you from sawdust
- safety glasses to protect your eyes from sawdust and other foreign materials
- Hearing protection to protect your ears against destructive noise
- Sandpaper to further smoothen the edges of your benchtop
- rough-sawn lumber or hardwood, and a
- Benchtop Planer
After getting all these necessary materials, below are the steps guiding you on using a benchtop planer.
Step 1: Familiarize yourself with the different mechanisms of the wood planer
A benchtop wood planer is portable and an affordable tool that helps you shape and smoothen wood edges. It is a bridge between handheld and stationary planers, which are often used for heavy and demanding projects. Therefore, familiarizing yourself with this tool and knowing its work mechanisms should be the first step towards using it.
Familiarizing with the benchtop wood planer helps you to understand its elements. There are many elements associated with it. Some of them include:
- Cutter head: It is a stationary component that houses the knives of your benchtop planer. This component is responsible for making cuttings and snaps on a piece of wood. Therefore, as an adaptation to its functions, it is made with steel, cutting through your wood quickly.
- Rollers: Rollers are an essential component of your carpentry tool. It supports the wood that is fed into the thickness planer. It, however, keeps the device moving quickly in forwarding motions.
- Table: This is a flat surface. It acts as a platform where you place your wood before feeding it into your machine. Therefore provides formidable support if you are handling large boards.
- A powerful motor or a 15-amp motor
- A depth adjustment wheel
- Dust collector, and
- A scale pointer.
Depending on the helical model, you can find planers with different components depending on the flexibility and adjustability of the roller assembly concerning its supposed function.
Step 2: Preparation for operation
Even though a benchtop wood planer works like a simple typical mechanical wood planer, there are tips necessary to make the application of your wood planer effective and enhance proper use. The first step towards preparing your planer should be seeking an appropriate location.
There are many advantages as to why you should seek an appropriate location for your carpentry tool. It is also advisable to locate it away from the public due to the wood chips and sawdust produced while planning. Equally, the noise produced during planning may also be the cause of nuisance to people.
After choosing the correct geographical place to install your planer, you must set your planer up. It may not be easy to install this plane if you are not familiar with other planes. Therefore below are steps necessary for installing your benchtop wood planer.
You are set to make sure that the blade is out of wood chips, sawdust, or debris. Then adjust the bolts in the outfeed and infeed table to position the tables under the middle table. However, you should ensure that no single blade hangs carelessly under the cutter head’s unit. Finally, ensure that you make the necessary adjustments to enable the tables to reach the bottommost section of the end edge to achieve maximum planning results.
The last step for your preparation process should be conducting a test drive. Do this after you’ve learned how the planner is installed. Therefore, you should use a pen or pencil to draw marks on the wooden board’s surface to mark your progress. To understand how the machine works, run the board through it.
Step 3: Choose your finish preference
With benchtop planners, you can choose either of these finishes:
- Dimensioning finish
- Finishing cut.
To get these preferred finishes, you are set to control the rollers. The rollers will tend to move slower or faster when switching between the two finishes. However, the finishing cut offers you a more refined result because of more finishes per inch. Dimensioning, on the other hand, offers lesser cuts per inch and a reasonably rough finish.
Step 4: Feed your finished workpiece into the planer
Once you have finished setting up a suitable place for your planer and running the test, it is now time to know how to use it appropriately. You are then required to feed the planer with a selected piece of board. You should also vertically run the planer and run the board through the planer above the wide-flat sides.
As a precautionary measure while using the planer, ensure that you feed all the boards in one go. By doing so, you are all set to have boards with similar thicknesses. However, for a smoother and flatter finish, ensure that every board has all its sides planed.
Step 5: How to avoid tear-out during the feeding process
Tear outs are a result of pitting the wrong end into your planer. When you do this, the blades hook and tear the rising wood fiber.
However, to avoid this risk, ensure to check the direction of the fibers to determine the end you should feed first into the machine.
For machines with a broader surface, ensure to look out for the grain on a sharp edge, and if it is the edge you want to plane, you can equally check for the direction of fibers via the board face. However, to avoid much damage since your sight may be subject to an illusional error, ensure to run your hand through the board to feel the fiber. You are set to feel the smoothness on one side and roughness on the other side, determining what side should be fed into your machine first.
Step 6: preventing wood snipe
A snipe is a result of the wooden board moving up into the cutter head when planning. Snipe usually occurs when the boards get scratches at the front and end while feeding or removing them from the wood planer. You can avoid this by using several pressure rollers to fasten your wood board down.
Nowadays, new planers have routers capable of locking the planer head after you have adjusted the depth.
However, the most effective way to reduce snipe is to adjust the board to a depth of 6-inch height capacity while planning at a shallow angle. Then trim the board later to cut off the snipe.
There are many other ways of avoiding snipes. You can also decide to sacrifice another board. Using this technique requires you to feed the next board against the end of the first board and keep doing that. By doing this, the planer will treat it as if it was a long wood.
Step 7: Avoid wood gauging and cutting.
If you place the rough side of the wood on the front side of the planner, it would be gauged and cut. Again, if you first choose to plane the rough part of the wood, it may be caught by grain, resulting in woodcuts and gauges. Therefore to avoid wood gauging and cut, do not place the rough part before the front side of your planer. However, ensure that the ideal position to avoid gauging and cutting your wood should be entirely forward.
Step 8: clean the rough edges
Once you have passed a piece of wood through your planer, it may not come out in perfect shape. Therefore there is a need to smoothen it. There are many ways of smoothening the rough edges of your piece of wood. However, to prevent rough edges, you are set to rack your boards alongside each other, preventing the board from inclining laterally.
Step 9: sand out the ridges
Machines are prone to tear and wear due to friction. Therefore, a normal tiny chip on your plane knives may cause ridges on your board. However, there are numerous ways to troubleshoot this slight technical hitch. Therefore, you can decide to replace the block planer knives or offset nicks by shifting one of the knives a bit.
Even though it consumes a lot of time, the ultimate solution to cleaning out ridges is sanding them out. You are required to use 220-grit wet/dry sandpaper. Therefore you will turn a rough surface into a smooth surface within no time.
How to use an electric hand planer?
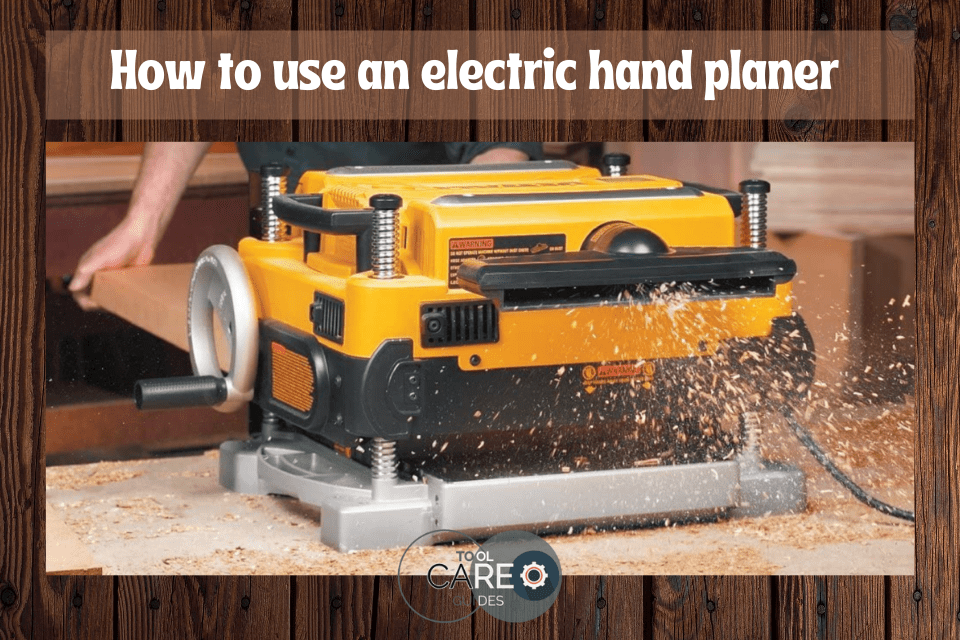
A hand planer consists of a rotating set of blades positioned between two base blades. It has a non-adjustable rotating blade behind its plates that provides s stable surface for the planer to rest as it planes through the lumber. However, it is also adapted to allow you to make cuts with much ease.
However simple it might look, to use an electric hand planer requires a bit of some knowledge to both those who have interacted with it and those who are purely new to it. Therefore there are many ways in which one should handle this handheld electric planer.
There are significant steps towards working with an electric hand planer since it is perceived as the most accessible tool to use, requiring not knowledge but skill. Therefore let us what a simple process of using an electric hand planer looks like.
Please know your tool by checking on it.
To use an electric hand planer requires one to pay attention to its make mechanisms since they are universal and are commonly followed for planning procedures. To familiarize yourself with this tool requires you to conduct scrutiny and necessary checks. Therefore, adjust your planer to project goals.
You are set to adjust the depth of your planning machine. However, hogging out dimensional lumber is mainly done using ⅛ inches of cutting depth. To achieve smoother finishes, use either 1/64 or 1/32 inches.
To use an electric hand planer, you must regularly check the blades of your tool and sharpen them, if necessary, rather than destroy many pieces of wood that you may be working on. If your blades are too blunt to plane, sharpen them using a whetstone for instant better results.
Blades may be expensive to buy and maintain. However, to protect your blades, ensure that you lift them before cutting.
Proper body position
Always ensure that you balance your body while working on wood. By keeping your body in the correct position, you gain more power and stability to work upon your timber and, at the same time, protect yourself from injuries that may arise as a result of a feeble body position.
Make the pass
To use an electric hand planer, place the shoes of your planer on a flat surface. A shoe is the front part of your planer. The shoe is often placed on the wood then pushed forward, hence driving the surface of the wood to the blade. This move chisels out the top layer, but that depends on the depth you have set.
Ensure that the blades do not touch the plane after placing it on the flat surface to avoid unwanted cuts. Switch on the planner and allow the motor to achieve its full speed. Next, move the wood forward until its surface touches the spinning blades.
As an extra cautionary measure, ensure that as you plan, keep a tight grip on your electric planer and try not to change the pressure have. Since doing so will cause uneven surfaces of your wood surface.
As part of learning, ensure you follow the safety rules first. This is to ensure that accidental injuries are warded off.
Safety precautions for properly use
Safety precautions are necessary if you need to avoid injuries at your workshop. To ensure maximum safety, below are some of the protective gear you are supposed to have.
- Hearing protection
- Eye protection
- Safety gloves
- Short sleeve shirts
Therefore ensure that you wear a short-sleeved shirt and avoid wearing jewelry to allow free movement of your hands while handling wood. Sometimes, either a long-sleeved shirt or a piece of jewelry can get hooked on your planer, causing injuries.
Ensure to cover your eyes and ears with protective covers. Working on timber ensures a lot of sawdust. Sawdust can get into your most crucial body organs hence causing you damage. Therefore wearing these protective covers will protect you against injuries.
Try as much as possible to keep your hands out near the machine when it is on the fly. Also, do not try to get rid of a board forcefully if it gets trapped in the planner. You are therefore required to switch off the machine and remove it carefully rest you chip your hand. However, ensure that the lines are switched off before changing the blades.
Final thoughts
Using a planer may be confusing and difficult to use for the first time. However, a closer look at this guide will equip you with the necessary skills and confidence to get you started. However you have to good knowledge on types of planer. The rule of the thumb remains that experience comes with practice. Keep practicing, and keep learning.