Quick Overview of This Article
A wobbly garden shovel handle can turn a simple gardening task into a frustrating ordeal, reducing efficiency and potentially causing injury. Fortunately, fixing a loose shovel handle is a straightforward DIY project that requires minimal tools and materials. This guide will walk you through the step-by-step process to stabilize your garden shovel handle, ensuring it’s sturdy and ready for heavy-duty digging. By addressing this common issue, you’ll extend the life of your shovel, save money on replacements, and make your gardening experience more enjoyable. Whether you’re dealing with a wooden or fiberglass handle, these proven methods will restore your shovel’s functionality in no time.
If your shovel handle is loose, it not only reduces efficiency but also increases the risk of injury. Fortunately, fixing a loose or wobbly shovel handle is a simple DIY task that anyone can do at home with just a few tools and some patience.
Why Do Shovel Handles Become Wobbly?
Garden shovel handles often become wobbly due to wear and tear, moisture damage, or improper storage. Over time, wood shrinks, metal corrodes, or the adhesive inside the socket weakens. Repetitive digging motion loosens the connection between the blade and the handle, making the shovel unstable.
Know the Cause of the Wobble
Before diving into repairs, identify why your shovel handle is wobbly. A loose handle often results from a worn or loosened connection between the handle and the shovel blade. For wooden handles, the wood may have shrunk due to moisture loss, creating a gap in the socket. Fiberglass or metal handles may have loose rivets, screws, or adhesive failure. Inspect the attachment point closely—check for cracks, rust, or missing fasteners. If the handle itself is cracked or severely damaged, replacement might be necessary. However, most wobbles can be fixed by tightening or reinforcing the existing connection. This initial assessment ensures you choose the right repair method, saving time and effort.
Gather Your Tools and Materials
To fix a wobbly shovel handle, you’ll need a few basic items, most of which you likely already own. Common tools include a screwdriver, hammer, drill, and wrench, depending on the shovel’s design. For materials, consider epoxy resin or wood glue for wooden handles, replacement screws or rivets for fiberglass or metal handles, and sandpaper for smoothing surfaces. A metal shim or wooden wedge can help fill gaps in loose sockets. If the handle is secured with a screw or rivet, ensure you have the correct size replacements. Having everything ready before starting prevents interruptions and ensures a smooth repair process.
Tools and Materials You’ll Need:
- Wood glue or epoxy adhesive
- Rubber mallet or hammer
- Drill (optional)
- Wood shims or small wedges
- Replacement rivets or screws
- Sandpaper (medium to fine grit)
- Protective gloves
Step-by-Step Instructions to Fix It:
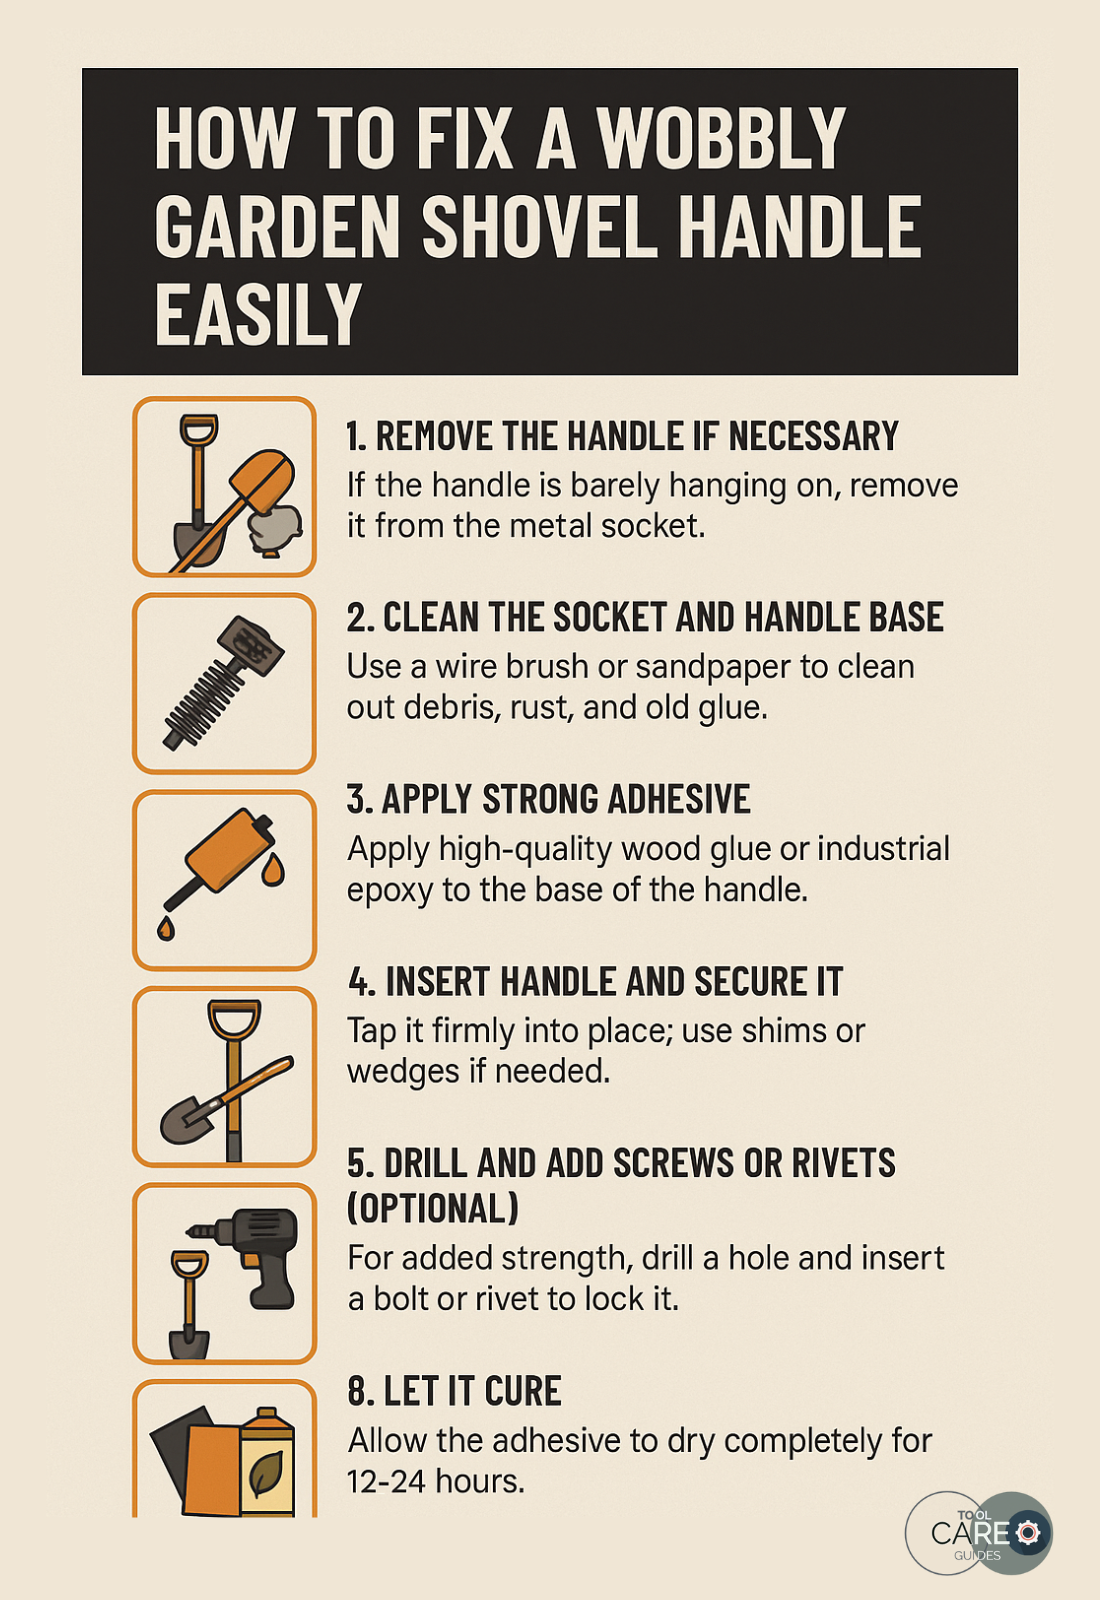
1. Remove the Handle if Necessary
If the handle is barely hanging on, remove it from the metal socket. Use a wrench or hammer to knock it loose gently.
2. Clean the Socket and Handle Base
Use a wire brush or sandpaper to clean out debris, rust, and old glue from the socket and the base of the handle. Clean surfaces allow better adhesion.
3. Apply Strong Adhesive
Apply high-quality wood glue or industrial epoxy to the base of the handle. Make sure it spreads evenly for a secure bond.
4. Insert Handle and Secure It
Insert the handle back into the socket. Tap it firmly into place with a rubber mallet. If there is any wobble, insert small wooden shims or wedges around the handle inside the socket.
5. Drill and Add Screws or Rivets (Optional)
For added strength, drill a hole through the socket and handle, then insert a bolt or rivet to lock it. This step is helpful if glue alone isn’t enough.
6. Let It Cure
Allow the adhesive to dry completely for at least 12–24 hours before using the shovel again.
7. Sand and Seal the Handle
Use sandpaper to smooth the handle and seal it with linseed oil or outdoor-grade sealant. This prevents moisture and future shrinking.
Tightening a Loose Wooden Handle
For wooden shovel handles, the most common fix involves securing the handle in the blade’s socket. Start by removing any dirt or debris from the socket using a wire brush. If the handle is loose but intact, drive a wooden or metal wedge into the top of the handle where it meets the socket. This expands the wood, creating a tighter fit. Alternatively, apply epoxy resin or wood glue into the socket before reinserting the handle, then clamp it tightly and let it dry for 24 hours. For added security, drill a small hole through the socket and handle, then insert a screw or rivet. This method ensures a durable, long-lasting fix for wooden handles.
Reinforcing Fiberglass or Metal Handles
Fiberglass and metal handles often use screws, rivets, or adhesive to connect to the blade. If the handle wobbles, check for loose or missing fasteners. Tighten any screws with a screwdriver or replace them if they’re stripped. For rivets, use a hammer to flatten them or replace them with new ones using a rivet gun. If the handle was glued, clean out old adhesive with sandpaper, then apply a strong epoxy or construction adhesive before reattaching. Ensure the handle is aligned properly and clamp it while the adhesive sets. This approach restores stability to non-wooden handles, making them as good as new.
Prevent Future Wobbling
Once your shovel handle is secure, take steps to prevent future wobbling. Store your shovel in a dry, sheltered area to protect wooden handles from moisture, which can cause shrinking or swelling. Regularly inspect the handle and blade connection for signs of wear, especially after heavy use. For wooden handles, apply a coat of linseed oil annually to maintain flexibility and prevent drying out. Tighten screws or rivets periodically to ensure they remain snug. These simple maintenance habits will keep your shovel in top condition, reducing the need for frequent repairs.
When to Replace Instead of Repair?
While most wobbly handles can be fixed, some cases call for replacement. If the handle is cracked, splintered, or severely worn, it’s safer to install a new one. Replacement handles are available at hardware stores and online, often costing less than a new shovel. To replace, remove the old handle by cutting it off or drilling out rivets, then insert the new handle following the manufacturer’s instructions. Ensure the new handle fits snugly in the socket and secure it with adhesive, screws, or rivets. Replacing a handle is a cost-effective way to revive an otherwise functional shovel.
Extra Tips to Prevent Wobble Again
Store tools indoors or under cover
Don’t leave wooden tools in wet soil
Oil wooden handles every few months
Check handles seasonally for early signs of movement
Is Restoring a Shovel Handle Worth It?
If you’ve ever found yourself holding a wobbly or cracked shovel handle mid-project, you’re not alone. Over time, even the sturdiest tools wear down—especially the wooden handles of garden shovels. So when the handle breaks or becomes unstable, the big question arises: is restoring it worth the effort, or should you replace the whole shovel? Let’s explore this in detail.
Cost Comparison: Repair vs. Replace
A brand-new quality shovel can cost anywhere from $25 to $70, depending on the material and brand. In contrast, replacing the wooden handle typically costs $10 to $20, with an added cost of maybe $5–$10 for basic tools or hardware (if you don’t already have them).
If the metal blade is in good shape, restoring the handle is far more economical than buying a new shovel. Plus, many replacement handles are made from premium hickory or fiberglass—often stronger than the original wood.
What If the Blade Is Damaged Too?
If the metal blade is heavily rusted, cracked, or has worn too thin from years of use, restoration may not be worth it. At this point, the integrity of the tool is compromised, and a new shovel will perform better and be safer.
But if the damage is only cosmetic or minor, sanding, oiling, and cleaning can bring the tool back to life.
Conclusion: Restore Your Shovel’s Strength
Fixing a wobbly garden shovel handle is an easy, budget-friendly task that any gardener can tackle. By assessing the problem, using the right tools, and applying the appropriate repair method, you can restore your shovel’s stability in under an hour. Regular maintenance and proper storage will keep your shovel reliable for years, saving you from the hassle of frequent repairs or replacements. Follow these steps to enjoy seamless digging, planting, and landscaping, making your gardening projects more efficient and enjoyable.
Frequently Asked Questions
How do you fix a loose wood handle?
To fix a loose wood handle, remove it, clean out any debris, then apply wood glue or epoxy to the joint. Reinsert the handle firmly, wipe off excess glue, and let it dry completely. For extra hold, you can also use a wedge or screw if the design allows.
How to treat shovel handles?
To treat shovel handles, sand the wood to remove splinters and dirt, then apply boiled linseed oil to protect and preserve it. Let the oil soak in, wipe off excess, and repeat as needed. This keeps the handle smooth, strong, and weather-resistant.
How do you get a shovel handle out?
To remove a shovel handle, first detach any screws or rivets holding it in place. Then, tap or hammer the handle out of the socket—using a mallet or block of wood to avoid damage. If it’s stuck, apply penetrating oil and let it sit before trying again.
How will you replace a tool handle?
To replace a tool handle, remove the old handle by loosening screws or tapping it out. Fit the new handle into place, ensuring a snug fit. Secure it with screws, wedges, or epoxy as needed, then sand and treat the handle for durability.